This tutorial will show you the fastest (and smallest) install of Jupyter Notebook if you only want to run R with it.
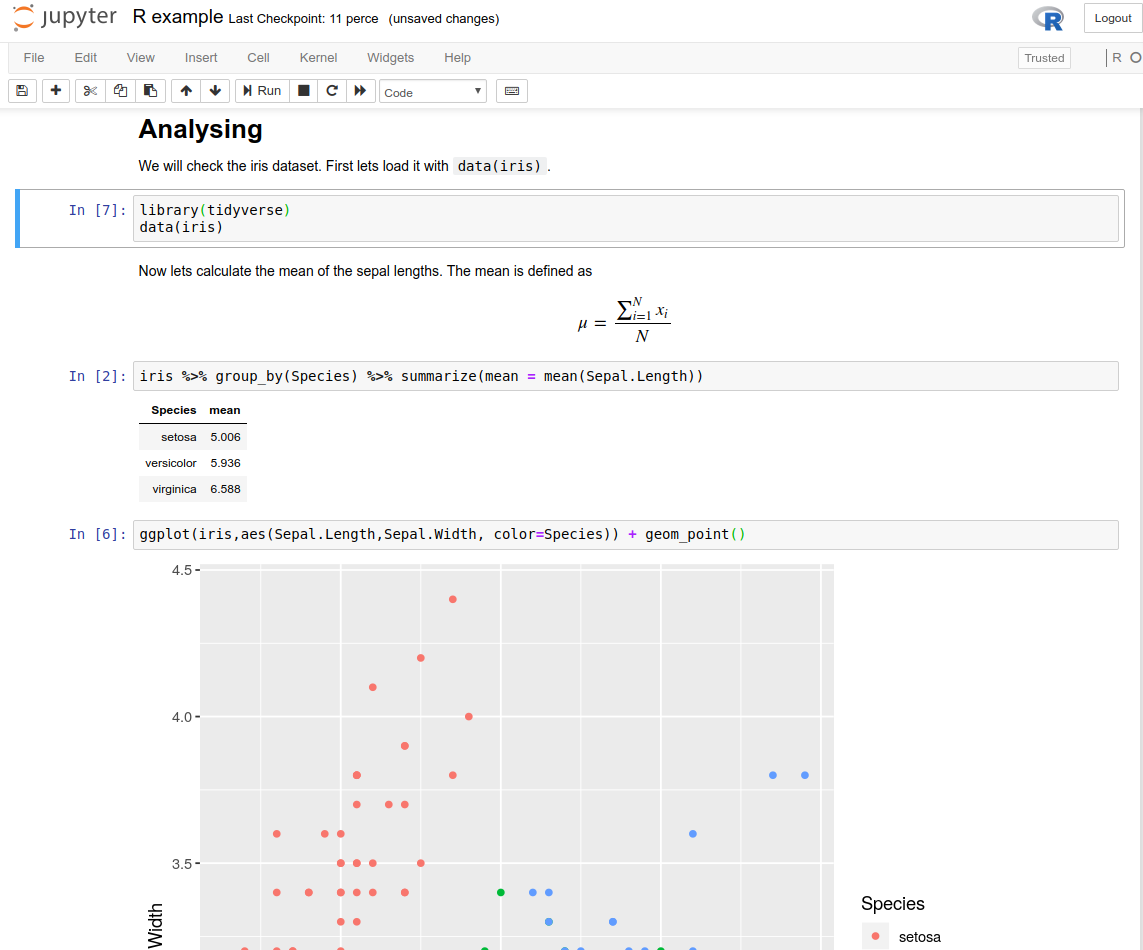
Jupyter Notebook is an application that runs in your browser and allows you to put code, text, equations, pictures and whatever comes to mind into one interactive notebook. It can run many scripting languages including R and python. Since you can run it from a server, it’s a very practical way of teaching R (and statistics), because the students only need a browser and they can access it from home as well.
You don’t have R already installed
Follow these steps on Windows 10 to get Jupyter Notebook, R and as a side effect, a bare minimum of python. You will need almost 5 GB of space, as it will install many of the popular packages for R.
-
Download miniconda. If you are unsure what to choose, choose the 64-bit python3 version.
-
Install. In the advanced options, I personally like to choose “Add Anaconda to my PATH environment” as I think it makes life easier. This way you will be able to use the commands from powershell as well, not just “Anaconda (64-bit)”, the software the installer is talking about. Otherwise I would leave the default options as they are.
-
Open “Windows Powershell” (if you didn’t follow my recommendation in the previous step open “Anaconda Prompt”, also if you changed the default value during installation and installed for all user, you should open these as administrator).
- Type the command
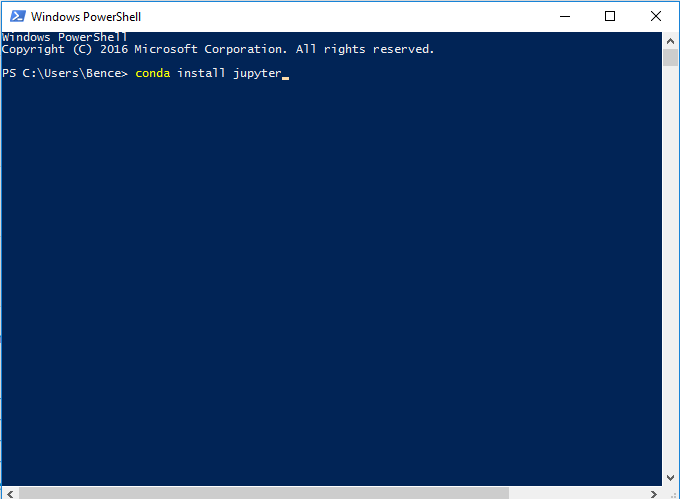
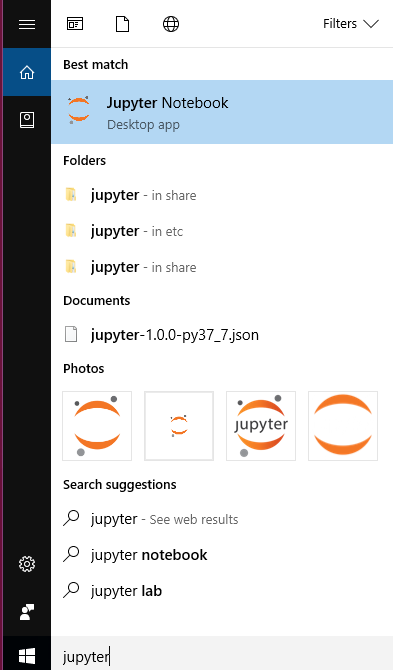
conda install jupyter mro-base r-essentialsand press enter (you might also need to confirm by pressingyand enter a bit later). If it looks like nothing is happening you can just press enter again, but it does take some time. - You should now be able to run Jupyter Notebook by searching for it in the start menu or by typing
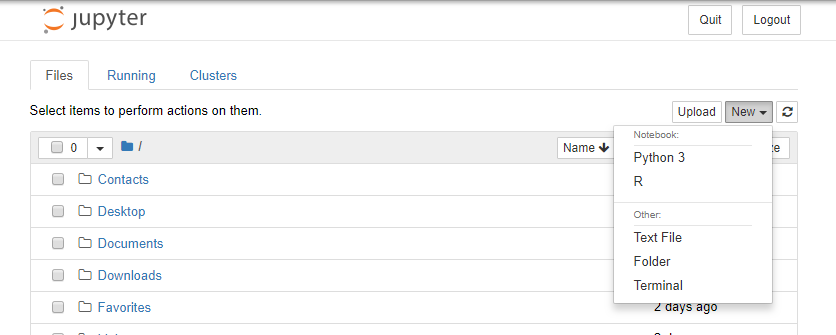
jupyter notebookin powershell, and see theRkernel in “new” under “notebooks”.
You already have R installed.
- Download and install git. The default options are fine, unless you know what you are doing.
- Download and install miniconda (see steps 1 and 2 in the previous section).
- Open powershell and run
conda install jupyter(see steps 3 and 4, but you obviously don’t needRnow). - In powershell run
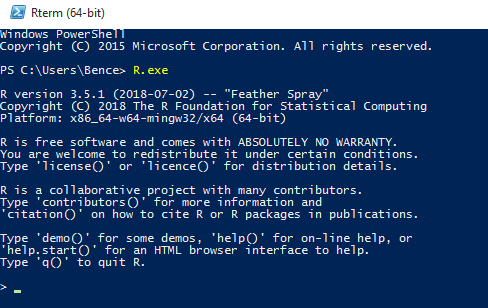
R.exeto get theRcommand prompt. The one in RStudio will not do.
- Run the following commands
> install.packages(c('repr', 'IRdisplay', 'evaluate', 'crayon', 'pbdZMQ', 'devtools', 'uuid', 'digest'))

> devtools::install_github('IRkernel/IRkernel')

> IRkernel::installspec()
- You should now be able to see your
Rkernel injupyter.
Possible issues
- Term […] is not recognized as a …: You forgot to tick the “Add to path” during install. Search for “environment variables” in the start menu, and add your installation of miniconda to the PATH variable for your user. If you installed miniconda to say C:\Users\Bence\Miniconda3 you need to add this and C:\Users\Bence\Miniconda3\scripts, so your PATH should minimally look like this: C:\Users\Bence\Miniconda3;C:\Users\Bence\Miniconda3\scripts. Here’s a tutorial for that.
- conda install hangs on solving environment: You need to specify either mro-base or r-base when installing r-essentials, and unfortunately, you will not get an error if you do not.
- Jupyter or IPython 3.0 has to be installed: You either forgot to install miniconda and jupyter, or jupyter is not on your PATH, or you are trying to run the R commands from the RStudio terminal.